How to change IMAP email account
To change the IMAP email account on your iPhone, you can follow these steps:
- Open the Settings app on your iPhone’s home screen.
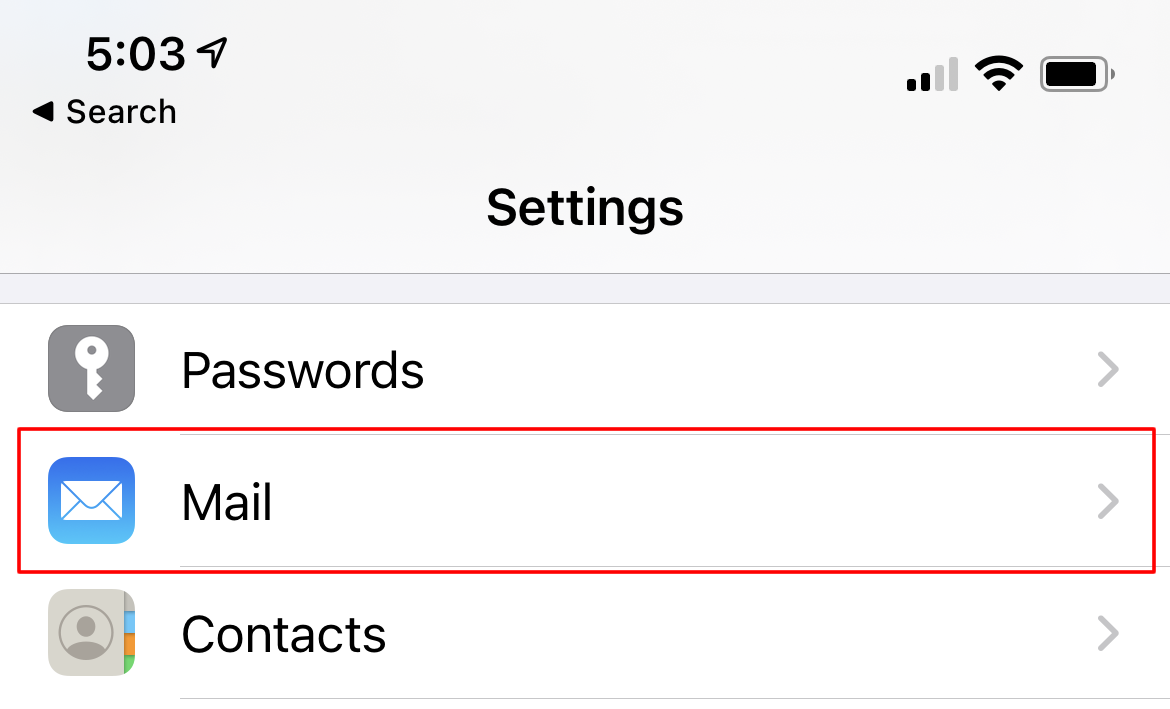
- Scroll down and tap on “Mail” (or “Mail, Contacts, Calendars” depending on your iOS version).
- Tap on “Accounts” (or “Passwords” depending on your iOS version).
- You will see a list of email accounts configured on your iPhone. Find the IMAP email account you want to change and tap on it.
- Tap on the email address at the top of the screen.
- In the next screen, you will see the account details. Tap on the “Account” field.
- You will be presented with a list of different email providers. Choose the provider that matches your new IMAP email account, or select “Other” if your provider is not listed.
- Follow the prompts to enter the required information for your new email account, such as your email address, password, and server settings. The exact fields and options may vary depending on the email provider you are configuring.
- Once you have entered the necessary information, tap “Next” or “Sign In” to verify the account settings.
- Your iPhone will attempt to connect to the new email account. If the settings are correct, you should see a success message, and your new account will be added to the Mail app.
After completing these steps, you should be able to access and manage your new IMAP email account on your iPhone using the Mail app.


